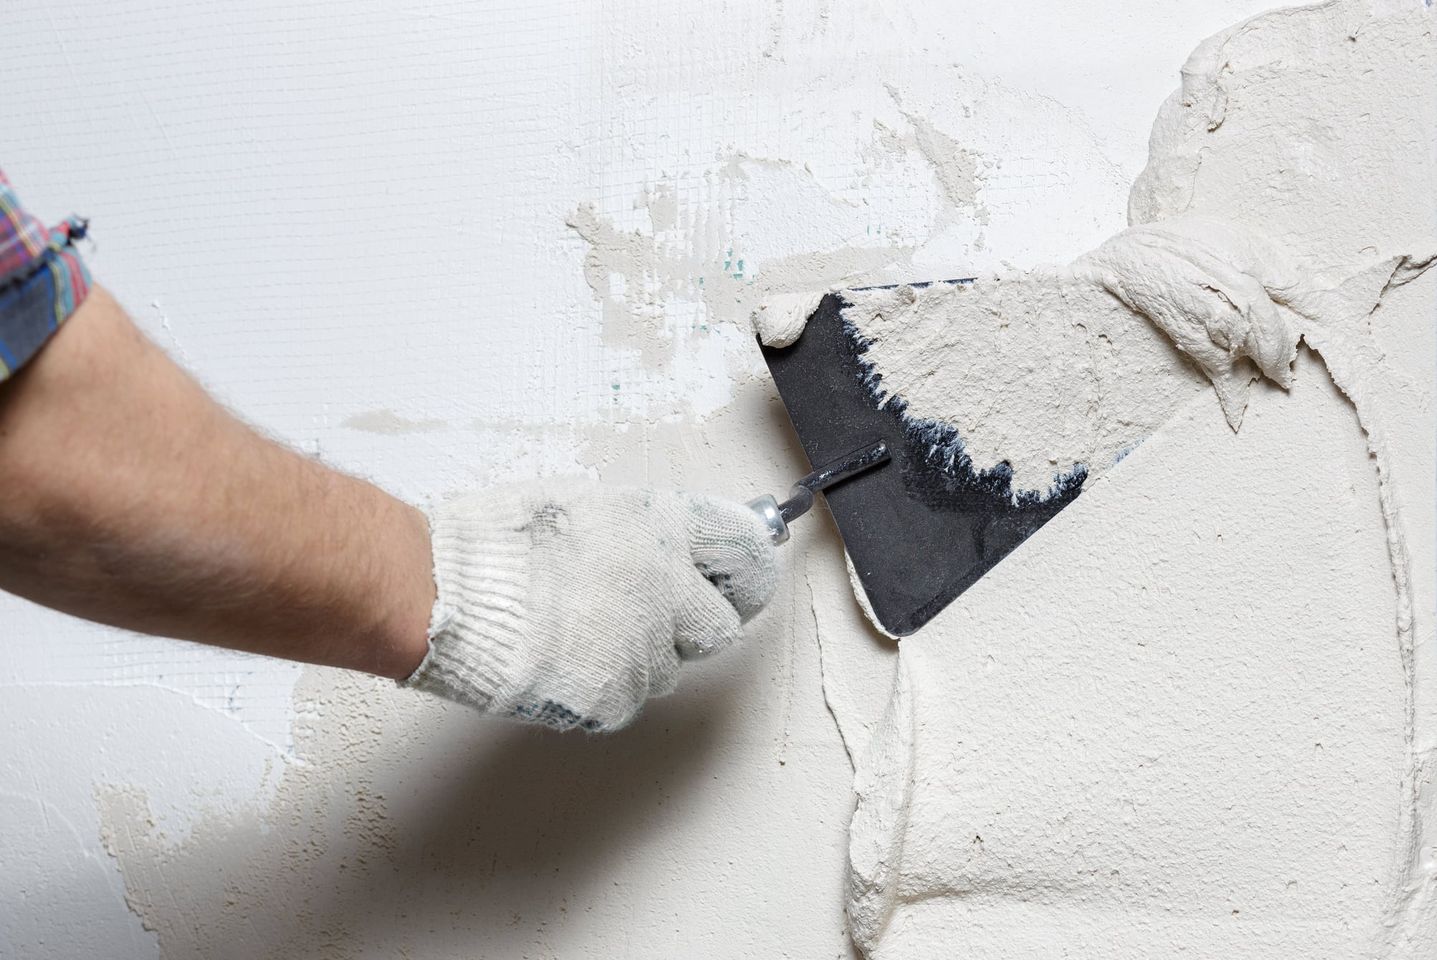
When it comes to creating a great finish on your home renovation, smooth walls are essential. Yet, a good plastering job can often be costly, eating into the rest of your project budget. Many of you may be asking if you can cut costs by skimming a wall yourself. Can you really teach yourself to plaster? The answer is yes!
We spoke to talented home renovator and Instagram DIYer Ed Kercher of @edshomereno to get his tips on how beginners can learn to skim a wall. As long as you follow tutorials carefully, it’s surprising how much you can do yourself to a great standard when it comes to DIY. Read on for his step-by-step guide.
Ed encourages everyone to try their hand at different DIY projects: “I think the main thing when doing DIY is to just give things a go, half of what holds people back is worrying about not doing a good job or messing it up. Getting things wrong is just a part of learning, you shouldn’t be worried about failing or you will never have a go.”

What’s the difference between plastering and skimming?
Plastering is adding plaster to bare brick walls, and is done mainly for a newly-built wall, or when you’ve had to remove all the previous plaster. Skimming is what you do over the top of old plaster to make it even, smooth and cover any cracks. It can totally transform tired, old-looking walls. If your walls have lots of bumps, uneven areas or small cracks, this is the process for you.
What materials do you need to skim a wall?
- Multi-finish skim
- PVA glue
- A bucket of clean water
- Plasterer’s trowel
- Plasterer’s hawk
- Paint brushes
Helpful extras:
- Gypsum easy filler
- Cloths for washing the walls
How to skim a wall step-by-step
Step 1: Prepare your wall
First off you want to fill any large holes with Gypsum easy filler, so that the skim plaster is only having to smooth-off smaller imperfections. Once that’s dry, scrape off any bumps it’s caused to make sure the surface is as flat as you can get it pre-skimming.
You also need the wall to be as clean as possible, so once you’ve done all your filling, give the wall a good wipe with a clean, wet cloth and then allow it to dry.
Step 2: Mixing the PVA glue⠀
Mix two parts PVA glue to one part water and roller it onto the wall. It’s best to repeat this process twice so that there’s a good layer of PVA for the plaster to adhere to.
The PVA also helps stop the plaster from drying out too quickly which can cause cracking, so if you have time and want to get the best results, definitely do a second coat.
Step 3: Prepping the plaster
Mix the multi-finish in a bucket with an electric mixer making sure that the bucket and tool are completely clean.
The plaster mix should be added to water and never the other way round. Try to make the plaster the consistency of thick yogurt.
Step 4: Plastering
Apply the first 2mm skim coat to the wall from top left to right with big swinging motions, making sure to apply an even layer. Apply the top half of the wall then the bottom half.
Next, make your mixture slightly more watery. Apply this as a second 1mm skim coat in the same way, but this time be careful to make sure the plaster is completely flat when finished.
Step 5: Final stage
Using a paint brush, splash water over the plaster as it dries and use the trowel to flatten out any final bumps and scratches.
The plaster should be completely flat, but if there are any tiny bits you missed, a light sanding after it has dried can resolve these imperfections.
How to tell if plastering is good
It takes time when you’re still learning to get a good finish. Don’t rush it. If it’s good plastering, the wall will be smooth and flat so you won’t need too much sanding after.
How do you fix a bad skim coat?
If the skim coat hasn’t gone to plan, there may be a fix – depending on how badly it’s finished. At the end of your skimming, you’ll want to go back over it with your trowel while it’s drying. Splash water with a paintbrush at the same time, until it’s completely smooth. If there are still a few rough bits, don’t worry too much as these can be sanded down. If needed, you can always fill areas in and sand them down again.
If it’s really bad you will probably have to go over it again… and if it’s really really bad you might have to scrape it off and start from scratch. To avoid this happening, make sure to closely follow the step by step instructions above.
And there you have it. Follow @edshomereno for more tips and tricks on DIY home renovation to find out more. If you have a go at skimming a plaster wall, post it and tag us on Instagram or use the hashtag #OakFurnitureland – we’d love to see how you get on!

